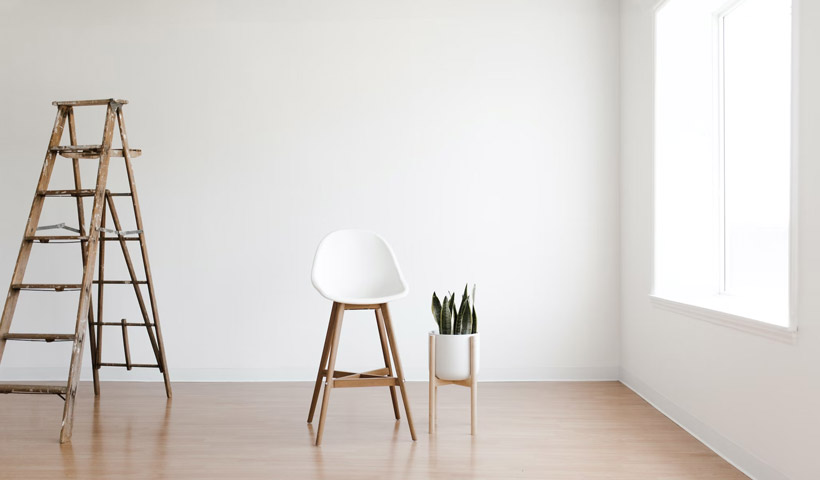
Preparing your walls before a professional painter arrives is essential to ensure a smooth and successful painting process. Taking the time to properly prep your walls will not only help achieve a high-quality finish, but also save time and money in the long run. Here are some key steps to follow:
- Clear the Area: Before the painter arrives, clear the room of any furniture or other items that might obstruct their work. Cover any remaining furniture with drop cloths to protect them from accidental paint splatters.
- Remove Wall Hangings and Decorations: Removing anything on your walls is a helpful way to get the room ready for interior painting services. Take down any wall decor, clocks, photos, artwork, and decorative fixtures and put them in a safe place outside the area you plan to paint.
- Remove Rugs, Curtains, and Throws: Take down curtains and remove window treatments before your painting project begins. Your painting crews may need to touch up windows and trim, and getting drapes and window treatments out of the way makes that a lot easier. Similarly, you’ll want to remove anything you normally have covering/decorating your floor, or draped over furniture, to get it out of the way of dust, drop clothes, and dried or fresh paint.
- Clean the Walls: Dust, dirt, and grease can interfere with paint adhesion. Use a mild detergent and water solution to clean the walls. Start from the top and work your way down to avoid streaks. Rinse with clean water and allow the walls to dry thoroughly.
- Repair Wall Imperfections: Inspect the walls for cracks, holes, and dents. Fill these imperfections with a spackling compound or putty. Use a putty knife to smooth the filler and let it dry. Sand the patched areas until they’re smooth and level with the rest of the wall.
- Sand the Walls: Even if your walls seem smooth, giving them a light sanding can create a better surface for paint adhesion. Use a fine-grit sandpaper to gently sand the walls. Wipe away the dust with a damp cloth afterward.
- Prime Stains and Discolorations: If your walls have stubborn stains, watermarks, or areas of discoloration, apply a coat of stain-blocking primer. This will prevent these imperfections from bleeding through the new paint.
- Caulk Gaps: Inspect the edges where the walls meet the ceiling, trim, and other surfaces. If there are gaps or cracks, use a paintable caulk to seal them. This creates a more finished look and prevents paint from seeping into these gaps.
- Provide Clear Access: Ensure the painter has easy access to the room and the walls they need to work on. Clear away any obstacles that might hinder their movement.
- Ventilation: Ensure that the room is well-ventilated. Open windows and doors to allow for proper air circulation, which helps paint dry faster and reduces the intensity of paint fumes.
Communicate with the painter. Before the professional painter arrives, communicate your preferences and any specific requirements you might have. Discuss the paint color, finish, and any special considerations for the room. Discuss whether they would like you to tape off areas not to be painted or if they prefer to do it themselves. All questions are great questions when it comes to getting ready for house painters.
Asking your painting contractor about any steps you need to take prior to their arrival is a smart way to ensure the experience is smooth, streamlined, and stress-free for everyone. Ask what you need to remove, store, and clean beforehand, as well as any other specific steps you’ll need to take to be prepared for a successful interior painting project.
By following these steps to prep your walls and the surrounding area before a professional painter in Brentwood or beyond, arrives, you’ll contribute to a successful and efficient painting process. Proper preparation sets the stage for a beautiful and long-lasting paint job that you can enjoy for years to come.


